Showing posts with label upholstery. Show all posts

Friday, September 6, 2013

How to do quality cafe racer seat upholstery (Part 2)

 When the pan is all padded, I use it as a guide to cut the vinyl covering, I could just make patterns and stitch each cover the same exact shape and size, but if the trimming on the foam or fiberglass is off just a little bit, the cover won't ever look right.  It takes more time this way, but it guarantees a top notch result.


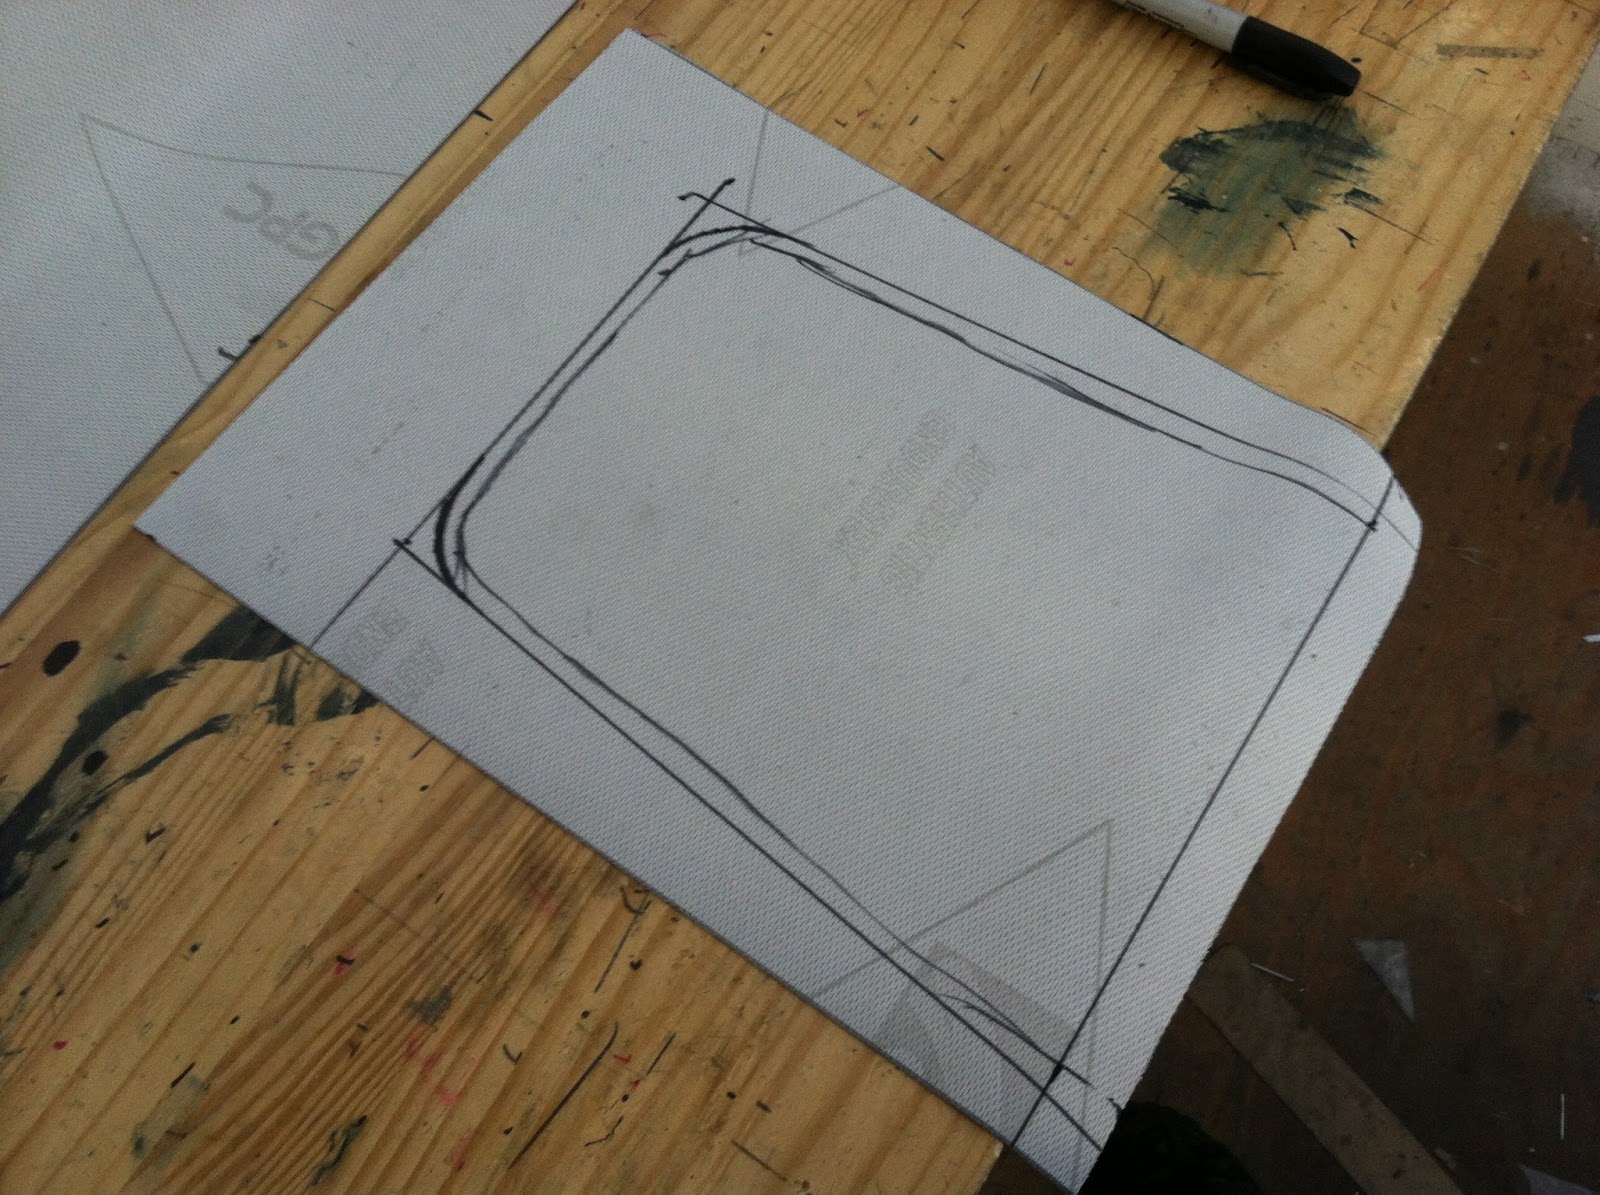
Since I use a flat fell type of seam for durability, I need to create a trim line offset from the edge of the foam by a little more than usual, I like to use about 1/2".  This is where the vinyl will be trimmed and where I'll line up the edge of the skirt piece.
To stitch the skirting to the main seat piece, I use transfer tape to stick the pieces together before actual stitching, this keeps things from moving around and ruining the straightness of the seam.  The first stitch is done on the backsides of the vinyl, then it's folded over and the next stitch is done about 1/4" from the first seam.  This makes the skirting hang perpendicular to the main seat piece without any bunching.


Next, the back piece gets stitched to the main seat piece, I use transfer tape again to lock it in place so nothing bunches up while stitching.  This piece can be cut extra large because it's trimmed to match the back piece of foam.  


Once the back piece is stitched, the whole cover is temporarily put on the foam and the back piece is pinned to the back foam, this gives it the shape it will take on when the pad is done.


To make the back skirt piece, I use two pieces of transfer tape, one to fold the first 1/2" of vinyl over on itself, and the next piece on top of that fold.  


The rear skirt is then stretched over the back piece of vinyl and pressed so the transfer tape holds it in place, then the pins are removed and the piece is unfolded and stitched. 


The piece is then folded over and the second stitch is done, extra care has to be taken here because any mistakes will cause the back of the seat to be uneven. 


The cover is then checked against the foam, when pulled tight it should be even and have no bunching anywhere. 


The cover is then riveted to the base and pulled taught as it's riveted.  Any excess material is trimmed off and hot melt adhesive can be used to flatten the creases against the fiberglass base.  


All ready for installation!


Tuesday, September 3, 2013

How to do quality cafe racer seat upholstery

I've been upholstering my own seats for a few years now, and when looking back at the first ones, I'm a bit impressed at how they look now.  Not blown away mind you, I'm a novice at best, but I think I can share some techniques with beginners that may help them along the way.

The style of pad I like to do is a separate upholstery unit, in my mind, it makes for a much cleaner look on the bike and is a lot easier to remove for underseat access than the snap cover type.  This type is shown on my personal bike, yeah, I actually ride on the parts I make!


The first step in my process is to make a fiberglass base pan for the pad, I use an original seat for the mold, and wax it so the glass doesn't stick to it, a couple layers of chopped mat is stiff enough for this purpose.  When it's all cured, I remove it and trim to the shape I want, I use templates for the seats I make all the time, it saves some measuring and marking time and ensures everyone's getting exactly what's in the picture.


Next I drill out holes for 1/8" rivets along the edge of the pan, I find rivets work best to hold down the material without starting tears in it.


Depending on the firmness desired, I make a base layer of at least 1/2" of high density closed cell foam, similar to yoga mats, or those floor covers for work areas.  Spray adhesive or contact cement work well to hold the foam to the fiberglass base.  The next layer(s) of foam should be a lower density type that adds a bit of cushion and lets the sewn material move a bit, it looks better than using only high density foam throughout.


With the foam layers adhered to the fiberglass base, I use a bandsaw, or a hand razor saw would work as well, to cut the foam using the edge of the fiberglass as a guide.  This makes sure the foam is straight along the sides and won't make the covering look lumpy.


Next, and this is a very important step, (I've had people tell me some of the "really famous" builders don't do this and have problems with the covers tearing!), I cover the fiberglass edge in either a few layers of masking tape or gaffer tape.  This keeps the abrasive fibers from rubbing holes in the vinyl covering... surprised that some people never think that far ahead.


tomorrow - sewing the cover