
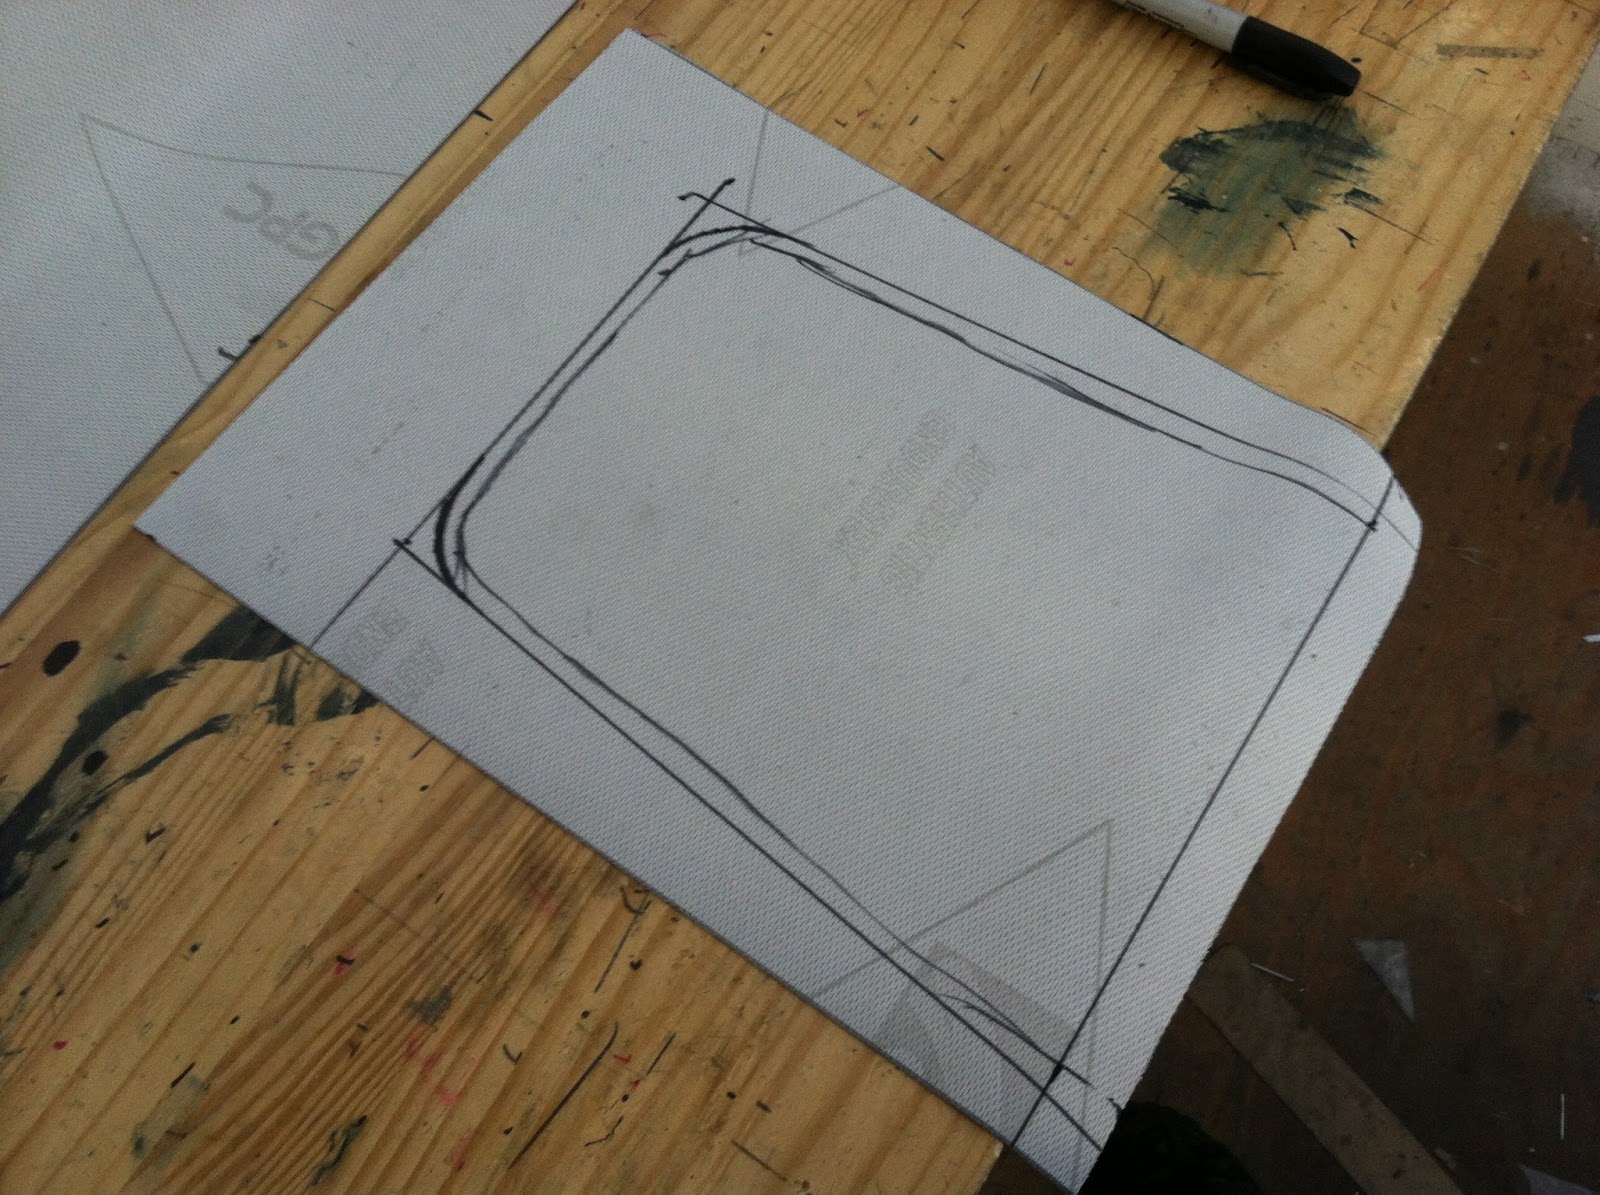
Since I use a flat fell type of seam for durability, I need to create a trim line offset from the edge of the foam by a little more than usual, I like to use about 1/2". This is where the vinyl will be trimmed and where I'll line up the edge of the skirt piece.
To stitch the skirting to the main seat piece, I use transfer tape to stick the pieces together before actual stitching, this keeps things from moving around and ruining the straightness of the seam. The first stitch is done on the backsides of the vinyl, then it's folded over and the next stitch is done about 1/4" from the first seam. This makes the skirting hang perpendicular to the main seat piece without any bunching.


Next, the back piece gets stitched to the main seat piece, I use transfer tape again to lock it in place so nothing bunches up while stitching. This piece can be cut extra large because it's trimmed to match the back piece of foam.

Once the back piece is stitched, the whole cover is temporarily put on the foam and the back piece is pinned to the back foam, this gives it the shape it will take on when the pad is done.

To make the back skirt piece, I use two pieces of transfer tape, one to fold the first 1/2" of vinyl over on itself, and the next piece on top of that fold.

The rear skirt is then stretched over the back piece of vinyl and pressed so the transfer tape holds it in place, then the pins are removed and the piece is unfolded and stitched.

The piece is then folded over and the second stitch is done, extra care has to be taken here because any mistakes will cause the back of the seat to be uneven.

The cover is then checked against the foam, when pulled tight it should be even and have no bunching anywhere.

The cover is then riveted to the base and pulled taught as it's riveted. Any excess material is trimmed off and hot melt adhesive can be used to flatten the creases against the fiberglass base.

All ready for installation!

No comments:
Post a Comment